Micro Scene
Renders
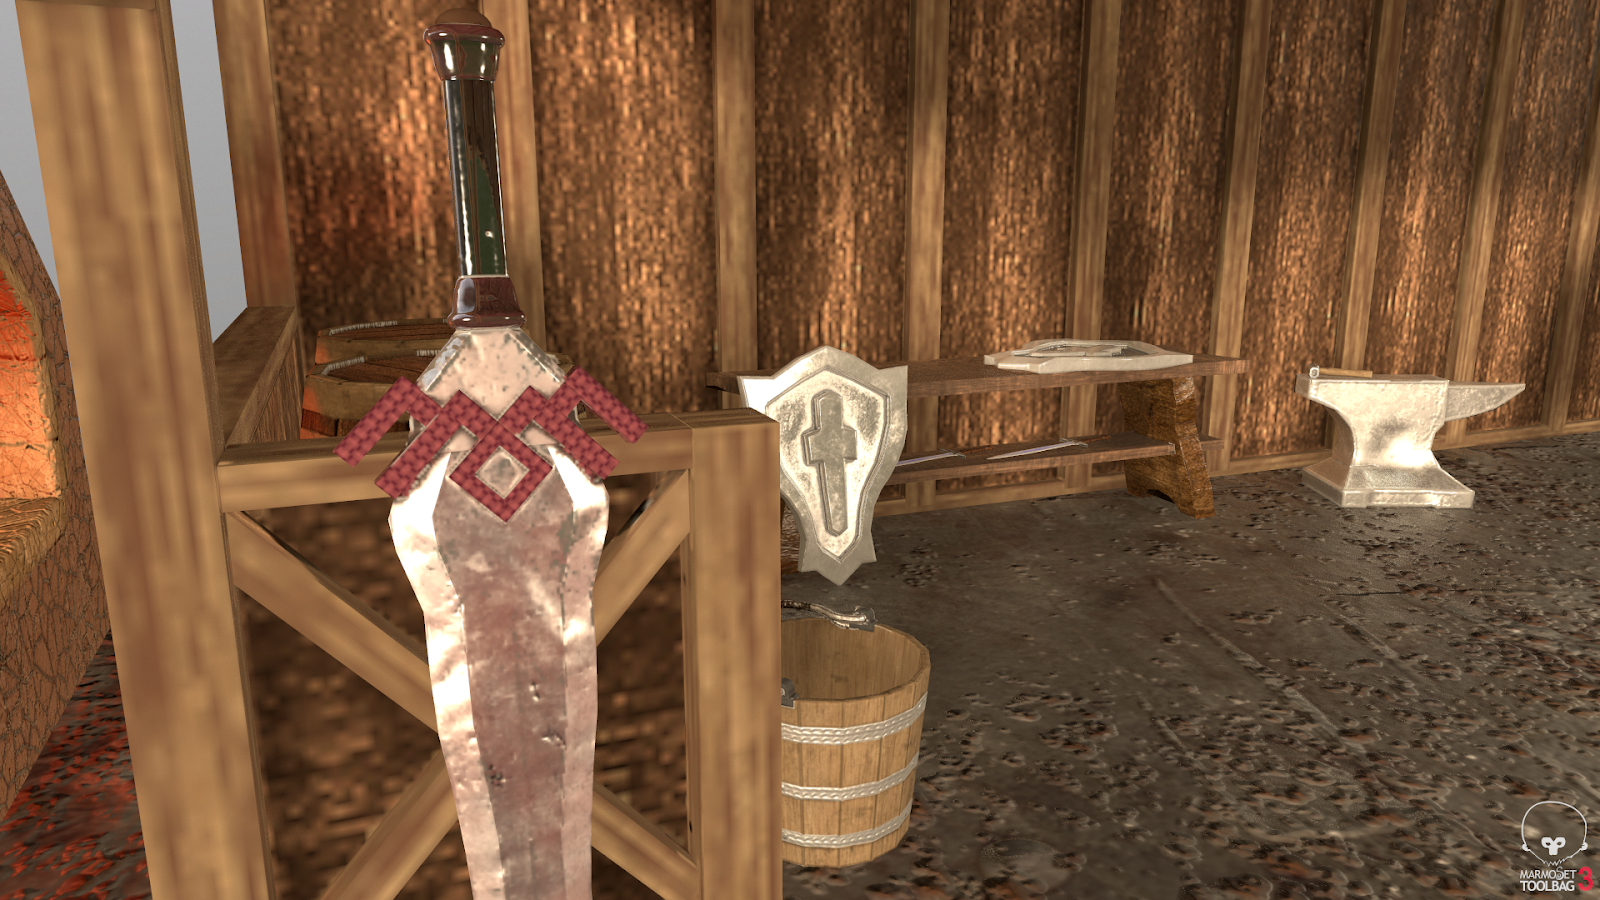
Here are my renders in Marmoset.

For this render, I wanted to show a close up of my RubySword that I modeled myself. The story behind the scene is of a retired famous knight that makes swords and shields for younger adventurers. I wanted this render to show off how beat up the blade of his old sword is to indicate use. I also wanted to indicate the shields and swords that this retired knight made in the background.

I wanted this render to show off more of the scene itself. The RubySword is still the main focus, but in this render, I wanted to show off the shield and sword ready to be carted off to an adventurer or to the local market. I also wanted to show how the fire within the forge colors the side of the stable.

This render shows the much broader scene. In this render, I intended to capture the ways my light interacts with each object in the scene. I wanted to showcase a general atmosphere and display the lighting I had worked on in Marmoset.
UVs

These were my UVs before I learned how to use the Cut and Sew Tool in Maya. Before, I had just mainly used Planar, Automatic, and a few other simple tools. However, I was quickly shown an easier and much better method of UV'ing.
This is how the UVs looked after redoing them.

The Layout button really helped me organize these UVs and so did the Get/Set Texel Density buttons.
Substance Painter and Substance Designer
I started by making my three materials in substance designer. I edited my past files to create these ones. Here are the shelf renders I have for each of them.


I had a stone material, a brick material, and a wood material made. Each of these materials I had applied to some part of my scene. The brick went to the forge, the stone went to the ground and the wood went to several wooden pieces in the scene.
The next step was in substance painter. Thankfully, by this time I had most of my objects ready as FBX files to bake in Substance Painter (ID, High, and Low poly).
I had used many substances from online. Here is a list of credits for the ones I did use.
Sting Sword
https://www.turbosquid.com/FullPreview/Index.cfm/ID/1125944
Beaten Metal
https://share.allegorithmic.com/libraries/374
Cement_Old
https://share.allegorithmic.com/libraries/4886
Forest Ground
https://share.allegorithmic.com/libraries/2705
Mossy Rock
https://share.allegorithmic.com/libraries/10
Rusted Brass
https://share.allegorithmic.com/libraries/1232
Rocky2
https://share.allegorithmic.com/libraries/2502
stones copy
https://share.allegorithmic.com/libraries/4546
T800 Metal
https://share.allegorithmic.com/libraries/12
Weapon Metal
https://share.allegorithmic.com/libraries/477
Worn Steel
https://share.allegorithmic.com/libraries/1233
Weapon Wood
https://share.allegorithmic.com/libraries/1121
Dirty Wood
https://share.allegorithmic.com/libraries/1417
Dirty Plastic
https://share.allegorithmic.com/libraries/260
Aged Wood
https://share.allegorithmic.com/libraries/322
Modeling my RubySword
Originally, I had meant for my Ruby Sword to be my own personal project. I just wanted to practice modeling and UV'ing, but it was very useful in my project. The modeling wasn't too bad, but I'm sure I could have improved a few of the techniques I used to create the hilt and the pommel.

This is a screenshot of when I was still modeling and UV'ing inside Maya. I enjoyed the practice and know I can make a better model next time.
Next up, we have the RubySword in Substance Painter. This didn't take me too long, and I'm satisfied with how it turned out.

Process and Difficulties
To go through the whole process briefly...
First, I started by looking at concept art, and gathering models from online. I then began to look into what other models I needed and if I could create the ones I felt like I needed but did not have. Blocking out the scene came next, which led me to create a test scene for UVs and a SceneBlockOut for, well, blocking out the scene. The next step was to model any needed objects and UV them. UVs are a major step in this assignment, as they took up a majority of the total time. The most difficult part of the UV process was the arrangement of the UVs in the 0-1 space.

The next step involved a lot of arrangement and organization in naming conventions in Maya. Afterwards, I exported everything as FBX files to get them ready for painter.


The next step was Substance Painter and Substance Designer. I had designed 3 substances in Designer beforehand and could apply them to my exports in Painter. (See Substance Painter section)

After finishing each model in Substance Painter, I exported all the necessary maps for Marmoset. These maps included Normal, Height, Metallic, Base Color, Ambient Occlusion, and Roughness. Each of these maps plugged into a node in Marmoset for each Texture Set's shared lambert texture from Maya.


The resulting scene in Marmoset before adding in lighting!

And the final renders!


Most of the problems I ran into involved UVs and Substance Painter. The biggest problem I had to fix was the wood grain not appearing correctly on my cart. This was due to how the UVs were organized in Maya. I solved this problem by adding two layers of the same texture, but one was rotated 90 degrees. I then masked off all the erroneous wood grains to make them all align correctly.
I had to do that same masking process for other materials too, but the biggest offender was the wood grain.
Another problem I ran into involved not separating the texture sets as substance files. I had made a single substance file for each object, which was not what I was supposed to do. I went back and fixed this by going into each individual old substance file, exporting the texture I had created as a smart material on the shelf 'shelf' and re importing it all into one texture set substance painter file. This took a significant amount of time, but it was worth it.
Comments
Post a Comment